【Spring Security】 Oauth2 开放平台搭建
【Spring Security】 Oauth2 开放平台搭建
Metadata
title: 【Spring Security】 Oauth2 开放平台搭建
date: 2023-02-02 21:55
tags:
  - 行动阶段/完成
  - 主题场景/组件
  - 笔记空间/KnowladgeSpace/ProgramSpace/ModuleSpace
  - 细化主题/Module/SpringSecurity
categories:
  - SpringSecurity
keywords:
  - SpringSecurity
description: 【Spring Security】 Oauth2 开放平台搭建
【Spring Security】 Oauth2 开放平台搭建
undefined
undefined

从流程图中,可以看到,后台需要搭建一个认证服务器,负责用户登录、第三方授权等功能,还需要搭建自己的资源服务器,也就是我们自己产品的后台。
Security OAuth2 重构说明
官网说明
2019 年 11 月下旬,Spring 官方在 Spring Security OAuth 2.0 路线图中 指出 2.3.x 版本将在 2020 年 3 月到达项目生命周期的终点(End Of Life),随后将会发布 2.4.x 和 2.5.x。 后续 2.4.x 和 2.5.x 补丁和安全修复程序支持将持续到 2021 年 5 月,另外 2.5.x 的安全修复支持将持续到 2022 年 5 月项目终止日期。相同的寿命终止时间表适用于对应的 Spring Boot 2 自动配置项目。Spring Security OAuth 2.0 会在 2022 年 5 月项目终止后开放给 Spring 社区中的成员直接管理。
spring security 5.0
security 5.0 版本,添加了 oauth2 的相关模块,但是没有授权服务器的相关代码,security 最新源码:

各个模块功能如下:
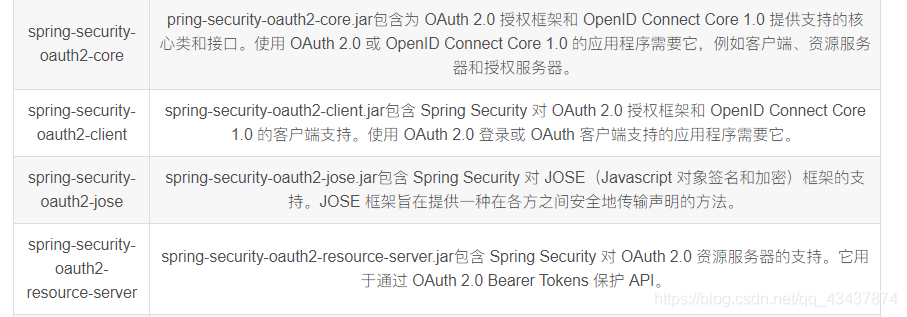
| spring-security- oauth2 -core | “pring-security-oauth2- core jar包含为OAuth 2 .0授权框架和OpenID Connect Core 1.0提供支持的核 心类和接口。使用OAuth 2.0或OpenID Connect Core 1.0的应用程序需要它,例如客户端、资源服务 器和授权服务器。” |
|---|---|
| spring-security- oauth2- client | spring-security-oauth2-clientjar包含 Spring Security 对OAuth 2.0授权框架和OpenlD Connect Core 1.0的客户端支持。使用OAuth 2.0登录或OAuth客户端支持的应用程序需要它。 |
| spring-security- oauth2- jose | spring-security-oauth2-jose.jar包 含Spring Security对JOSE (Javascript 对象签名和加密)框架的支 持。JOSE框架旨在提供一-种在各方之间安全地传输声明的方法。 |
| spring-security- oauth2- resource-server | spring-security-oauth2-resource- -serverjar包含Spring Security对OAuth 2 0资源服务器的支持。它用 于通过OAuth 2.0 Bearer Tokens保护API。 |
spring cloud 2020
spring cloud 2020 发布后,删除了以下模块:
<dependency>
            <groupId>org.springframework.cloud</groupId>
            <artifactId>spring-cloud-starter-oauth2</artifactId>
        </dependency>

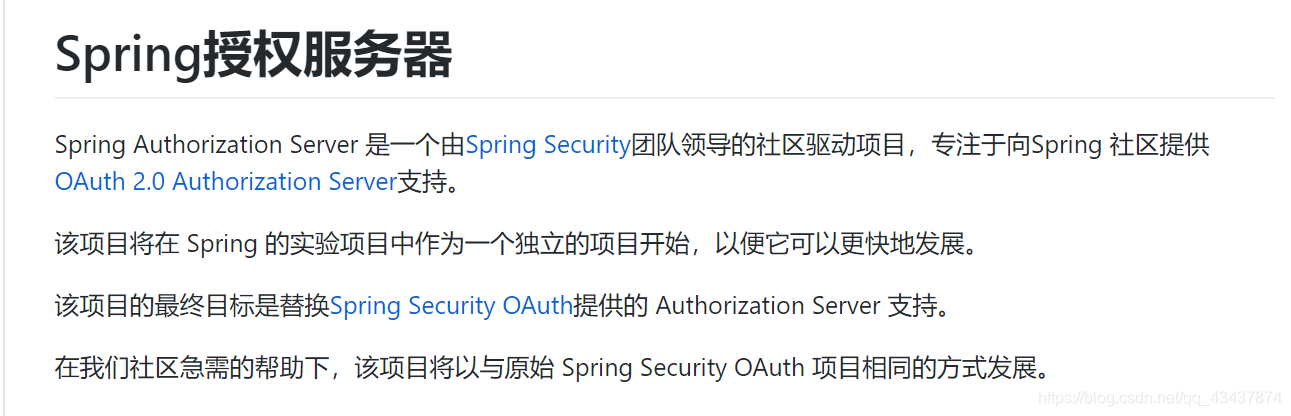
新的 OAuth2.0 授权服务器
spring 新版本的 security 去掉了 Authorization Server 的功能及代码,推荐使用 KeyCloak 代替。但是社区也引起了很多不满。
后续又继续开发了新的授权服务器,Github 地址。但是目前还处于试验阶段,慎用。
最新版本 maven 坐标:
<!-- https://mvnrepository.com/artifact/org.springframework.security.experimental/spring-security-oauth2-authorization-server -->
<dependency>
    <groupId>org.springframework.security.experimental</groupId>
    <artifactId>spring-security-oauth2-authorization-server</artifactId>
    <version>0.1.2</version>
</dependency>
取舍
经过对新版 OAuth2.0 授权服务器搭建测试,发现功能并不完善,而且 BUG 很多,并不能正常使用,所有依然采用 spring-security-oauth2。
<dependency>
            <groupId>org.springframework.security.oauth.boot</groupId>
            <artifactId>spring-security-oauth2-autoconfigure</artifactId>
        </dependency>
基础工程
1. 创建项目
使用 Spring Initializr 创建了四个模块,分别为 Oauth2 开放平台、资源服务器 1、资源服务器 2、第三方 web 平台,使用 spring.boot 2.5.2。

2. 创建表结构
项目和 SQL 都放在在码云。
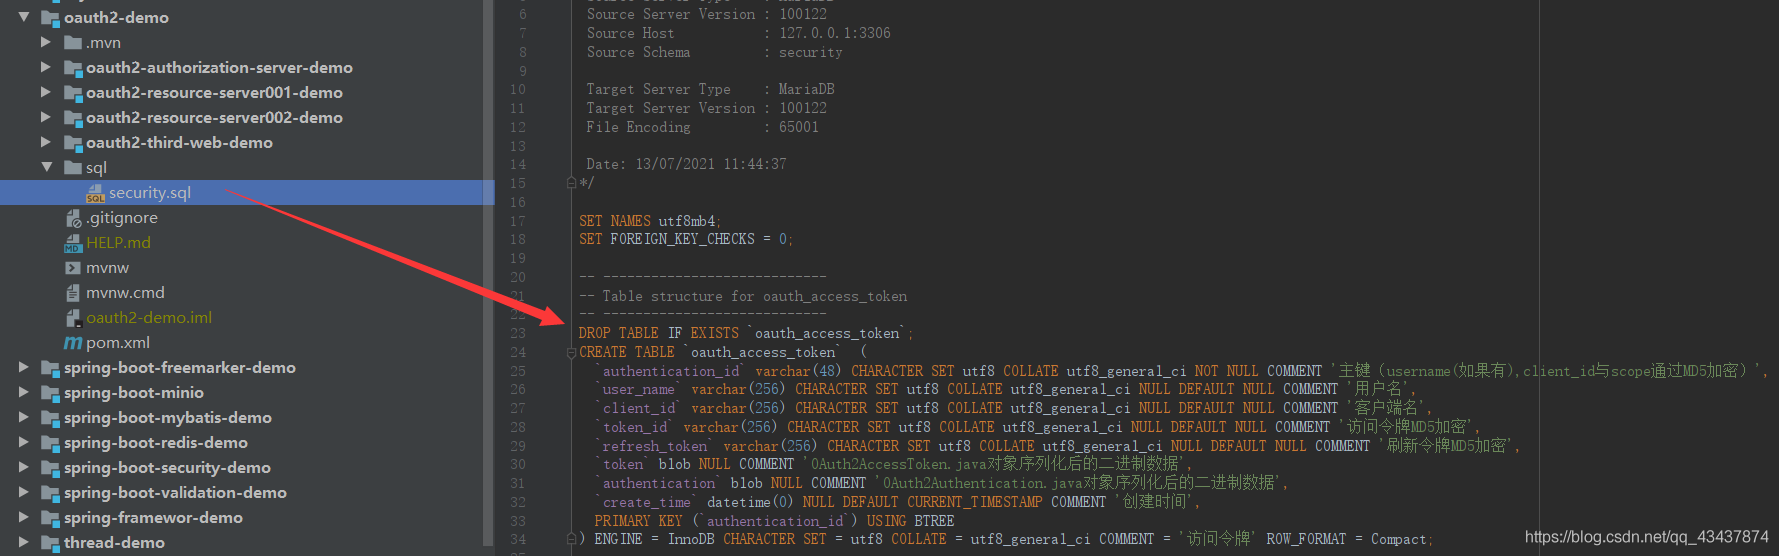
和 Oauth2 有关有 6 张表,oauth_client_details 表就是保存 Oauth2 客户端账号密码、授权、回调地址等重要信息的表,其他的都是存储令牌、code 等信息,实际可以不要。
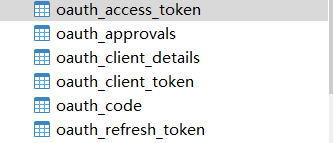
表结构说明:
| 表名 | 描述 |
|---|---|
| oauth_client_details | 客户端账号密码、授权、回调地址等重要信息;核心表 |
| oauth_access_token | 存储 access_token |
| oauth_refresh_token | 存储 refresh_token |
| oauth_client_token | 存储从服务端获取的 token 数据 |
| oauth_code | 存储授权码 |
| oauth_approvals | 存储授权成功的客户端信息 |
3. 认证服务器基础环境
- 添加 pom,注意 security 相关依赖
pom 依赖:
<dependencies>
        <dependency>
            <groupId>org.springframework.boot</groupId>
            <artifactId>spring-boot-starter-web</artifactId>
        </dependency>
        <dependency>
            <groupId>org.springframework.boot</groupId>
            <artifactId>spring-boot-starter-test</artifactId>
            <scope>test</scope>
        </dependency>
        <dependency>
            <groupId>org.projectlombok</groupId>
            <artifactId>lombok</artifactId>
            <optional>true</optional>
        </dependency>
        <dependency>
            <groupId>org.springframework.security.oauth.boot</groupId>
            <artifactId>spring-security-oauth2-autoconfigure</artifactId>
        </dependency>
        <!--动态模板thymeleaf-->
        <dependency>
            <groupId>org.springframework.boot</groupId>
            <artifactId>spring-boot-starter-thymeleaf</artifactId>
        </dependency>
        <!--Thymeleaf提供的SpringSecurity标签控制支持-->
        <dependency>
            <groupId>org.thymeleaf.extras</groupId>
            <artifactId>thymeleaf-extras-springsecurity5</artifactId>
        </dependency>
        <dependency>
            <groupId>com.baomidou</groupId>
            <artifactId>mybatis-plus-boot-starter</artifactId>
            <version>3.4.2</version>
        </dependency>
        <!--Mysql 驱动-->
        <dependency>
            <groupId>mysql</groupId>
            <artifactId>mysql-connector-java</artifactId>
        </dependency>
        <!--swagger-->
        <dependency>
            <groupId>io.springfox</groupId>
            <artifactId>springfox-swagger2</artifactId>
            <version>2.8.0</version>
        </dependency>
        <dependency>
            <groupId>io.springfox</groupId>
            <artifactId>springfox-swagger-ui</artifactId>
            <version>2.8.0</version>
        </dependency>
    </dependencies>
- 添加 yml 相关配置
spring:
  application:
    name: oauth2-authorization-server-demo
  datasource:
    type: com.zaxxer.hikari.HikariDataSource
    driver-class-name: com.mysql.cj.jdbc.Driver
    url: jdbc:mysql://127.0.0.1/security?useUnicode=true&characterEncoding=utf8&serverTimezone=GMT%2B8&useSSL=false
    username: root
    password: 123456
    hikari:
      minimum-idle: 5
      idle-timeout: 600000
      maximum-pool-size: 10
      auto-commit: true
      pool-name: MyHikariCP
      max-lifetime: 1800000
      connection-timeout: 30000
      connection-test-query: SELECT 1
  security:
    user:
      name: user
      password: 123456
server:
  port: 20000
mybatis-plus:
  typeAliasesPackage: org.pearl.**.entity
  configuration:
    map-underscore-to-camel-case: true
    call-setters-on-nulls: true
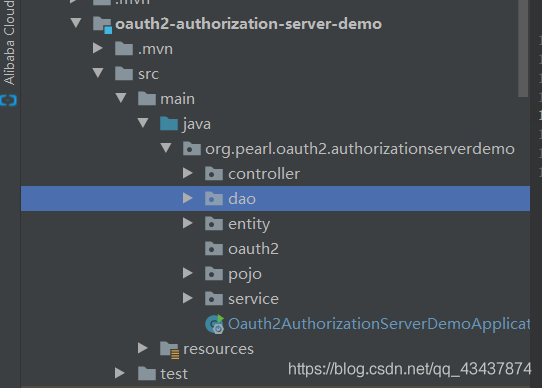
- 使用mybatis-plus代码生成器,生成相应代码。
- 启动项目,授权服务器基础环境配置完成

4. 搭建资源服务器
- 配置下不同的访问端口,添加以下依赖即可。
<dependencies>
        <dependency>
            <groupId>org.springframework.boot</groupId>
            <artifactId>spring-boot-starter-web</artifactId>
        </dependency>

        <dependency>
            <groupId>org.springframework.boot</groupId>
            <artifactId>spring-boot-starter-test</artifactId>
            <scope>test</scope>
        </dependency>
        <dependency>
            <groupId>org.springframework.security.oauth.boot</groupId>
            <artifactId>spring-security-oauth2-autoconfigure</artifactId>
        </dependency>
    </dependencies>
 wechat
 alipay